
If you’ve been experiencing sluggish internet on your Windows 10 computer, you’re not alone. Slow connections can be frustrating—especially when you’re trying to stream, work, game, or just browse the web. Fortunately, there are several simple and effective ways to diagnose and fix a slow internet connection on your Windows 10 machine. In this article, we’ll dive into the most common causes of slow internet, and provide detailed steps to help you speed things up.
Contents
Common Causes of Slow Internet on Windows 10
Before you can fix the issue, it helps to understand what’s causing it. Here are some frequent culprits:
- Background apps and updates hogging bandwidth
- Network adapter issues or outdated drivers
- Incorrect DNS settings slowing down domain resolutions
- Wi-Fi interference or weak signal strength
- Malware or adware using the internet in the background
Now, let’s explore how to resolve these and boost your internet speed.
1. Check Your Internet Speed
Start by checking whether it’s your internet provider or your PC slowing things down. Use a trusted site like Speedtest.net to measure your download and upload speeds.
If the speed is significantly lower than what you’re paying for, it could be a problem with your ISP or router setup. But if speeds are fine on other devices and just slow on your Windows 10 computer, the issue is probably local.

2. Restart Your Router and PC
It might sound cliché, but a simple restart can solve a multitude of problems. Routers left on for extended periods can slow down due to memory leaks or outdated cache. Reboot your router and your PC and see if that helps.
3. Disable Background Apps and Auto-Updates
Windows 10 loves running things in the background. Unchecked, background apps and services can chew up your bandwidth.
- Go to Settings > Privacy > Background Apps.
- Toggle off apps that don’t need to run in the background.
Also, Windows updates can slow down your network speeds temporarily. To manage Windows Update settings:
- Go to Settings > Update & Security > Delivery Optimization.
- Toggle off “Allow downloads from other PCs”.
4. Update Your Network Drivers
Outdated or corrupted network drivers are a common cause of slow connections. You can update your drivers manually or let Windows do it for you.
- Right-click on the Start button and select Device Manager.
- Expand the Network adapters section.
- Right-click your adapter and choose Update driver.
Choose “Search automatically for updated driver software” and follow the prompts. Restart your computer after the update.
5. Change Your DNS Server
Domain Name System (DNS) servers are responsible for resolving domain names like “google.com” into IP addresses. If you’re using a slow or unreliable DNS server, it could delay your browsing significantly.
To switch to a faster, public DNS like Google or Cloudflare:
- Open Control Panel > Network and Sharing Center > Change adapter settings.
- Right-click your active network and choose Properties.
- Select Internet Protocol Version 4 (TCP/IPv4) and click Properties.
- Choose “Use the following DNS server addresses”.
- Enter:
- Preferred DNS server: 8.8.8.8
- Alternate DNS server: 8.8.4.4
Click OK to save your changes and test your connection once more.
6. Disable Large Send Offload (LSO)
While LSO is designed to help with large network data transmissions, it can slow down your internet under certain circumstances.
- Press Windows + X and select Device Manager.
- Expand Network adapters, right-click your adapter and select Properties.
- Go to the Advanced tab, then find Large Send Offload v2 and set it to Disabled.
Disabling LSO allows Windows to handle data packets more efficiently in some network environments.
7. Switch to a Wired Connection
While Wi-Fi is convenient, it’s also less stable and more prone to interference than a wired connection. If possible, plug your computer directly into the modem or router using an Ethernet cable.
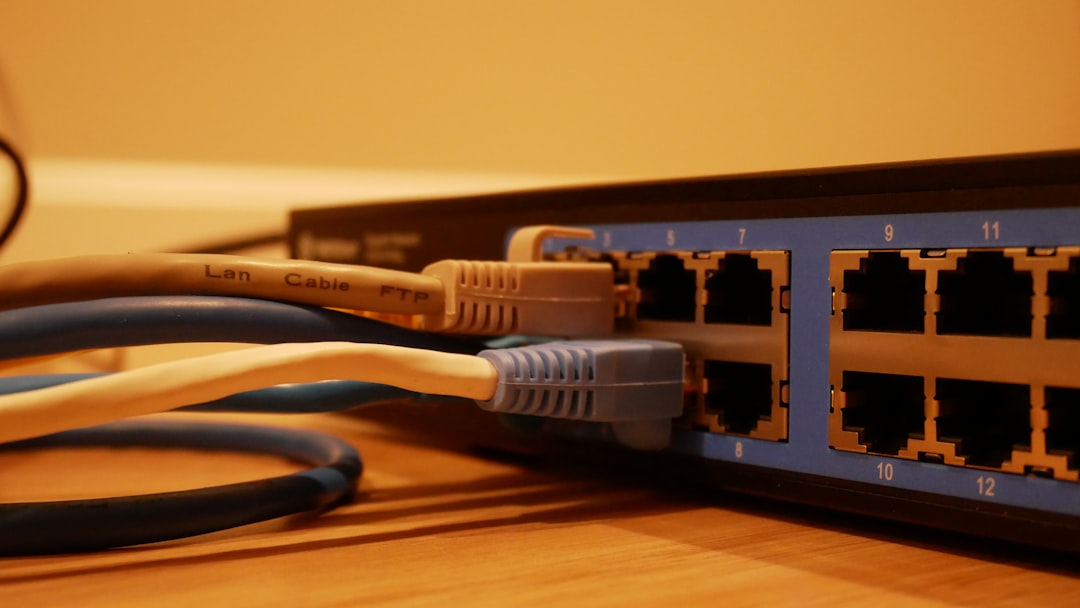
You’ll likely notice an instant improvement in speed and reliability, especially if you live in a building with lots of Wi-Fi networks crowding the space.
8. Run the Windows Network Troubleshooter
Sometimes, Windows can fix the issue for you—if you know where to look.
- Go to Settings > Network & Internet.
- Click Status, then scroll down and select Network troubleshooter.
This tool scans your system for errors and may provide a quick fix.
9. Turn Off Metered Connection
If you’ve previously set your Wi-Fi as a metered connection, Windows will throttle background activity to save data. That can sometimes interfere with overall speed.
- Go to Settings > Network & Internet > Wi-Fi.
- Select your current network and turn off “Set as metered connection”.
10. Scan for Malware and Adware
Some forms of malware silently use your connection to download or upload data, slowing down your entire experience.
Use Windows Defender or a reputable third-party antivirus program to perform a full system scan:
- Go to Settings > Update & Security > Windows Security.
- Click Virus & Threat Protection and run a full scan.
Clean up any threats found and restart your system afterward.
Advanced Tips for Power Users
If you’ve tried all the basic fixes to no avail, here are a few niche tricks that could give your internet a boost:
- Flush your DNS cache: Open Command Prompt as admin and type
ipconfig /flushdns - Reset TCP/IP stack: Command Prompt >
netsh int ip reset - Disable Windows Auto-Tuning: This is a legacy compatibility setting—run
netsh interface tcp set global autotuninglevel=disabled - Use QoS settings on your router: Prioritize traffic on devices or apps for smoother performance
When to Call Your ISP
If things still aren’t running smoothly, despite every fix in the book, the problem might lie with your internet service provider (ISP). Common signs include:
- Consistently low speeds on all devices
- Frequent disconnects
- Outages or degraded service area-wide
In such cases, call your ISP to verify whether there’s an outage or a service issue in your area.
Conclusion
Improving your internet speed on Windows


