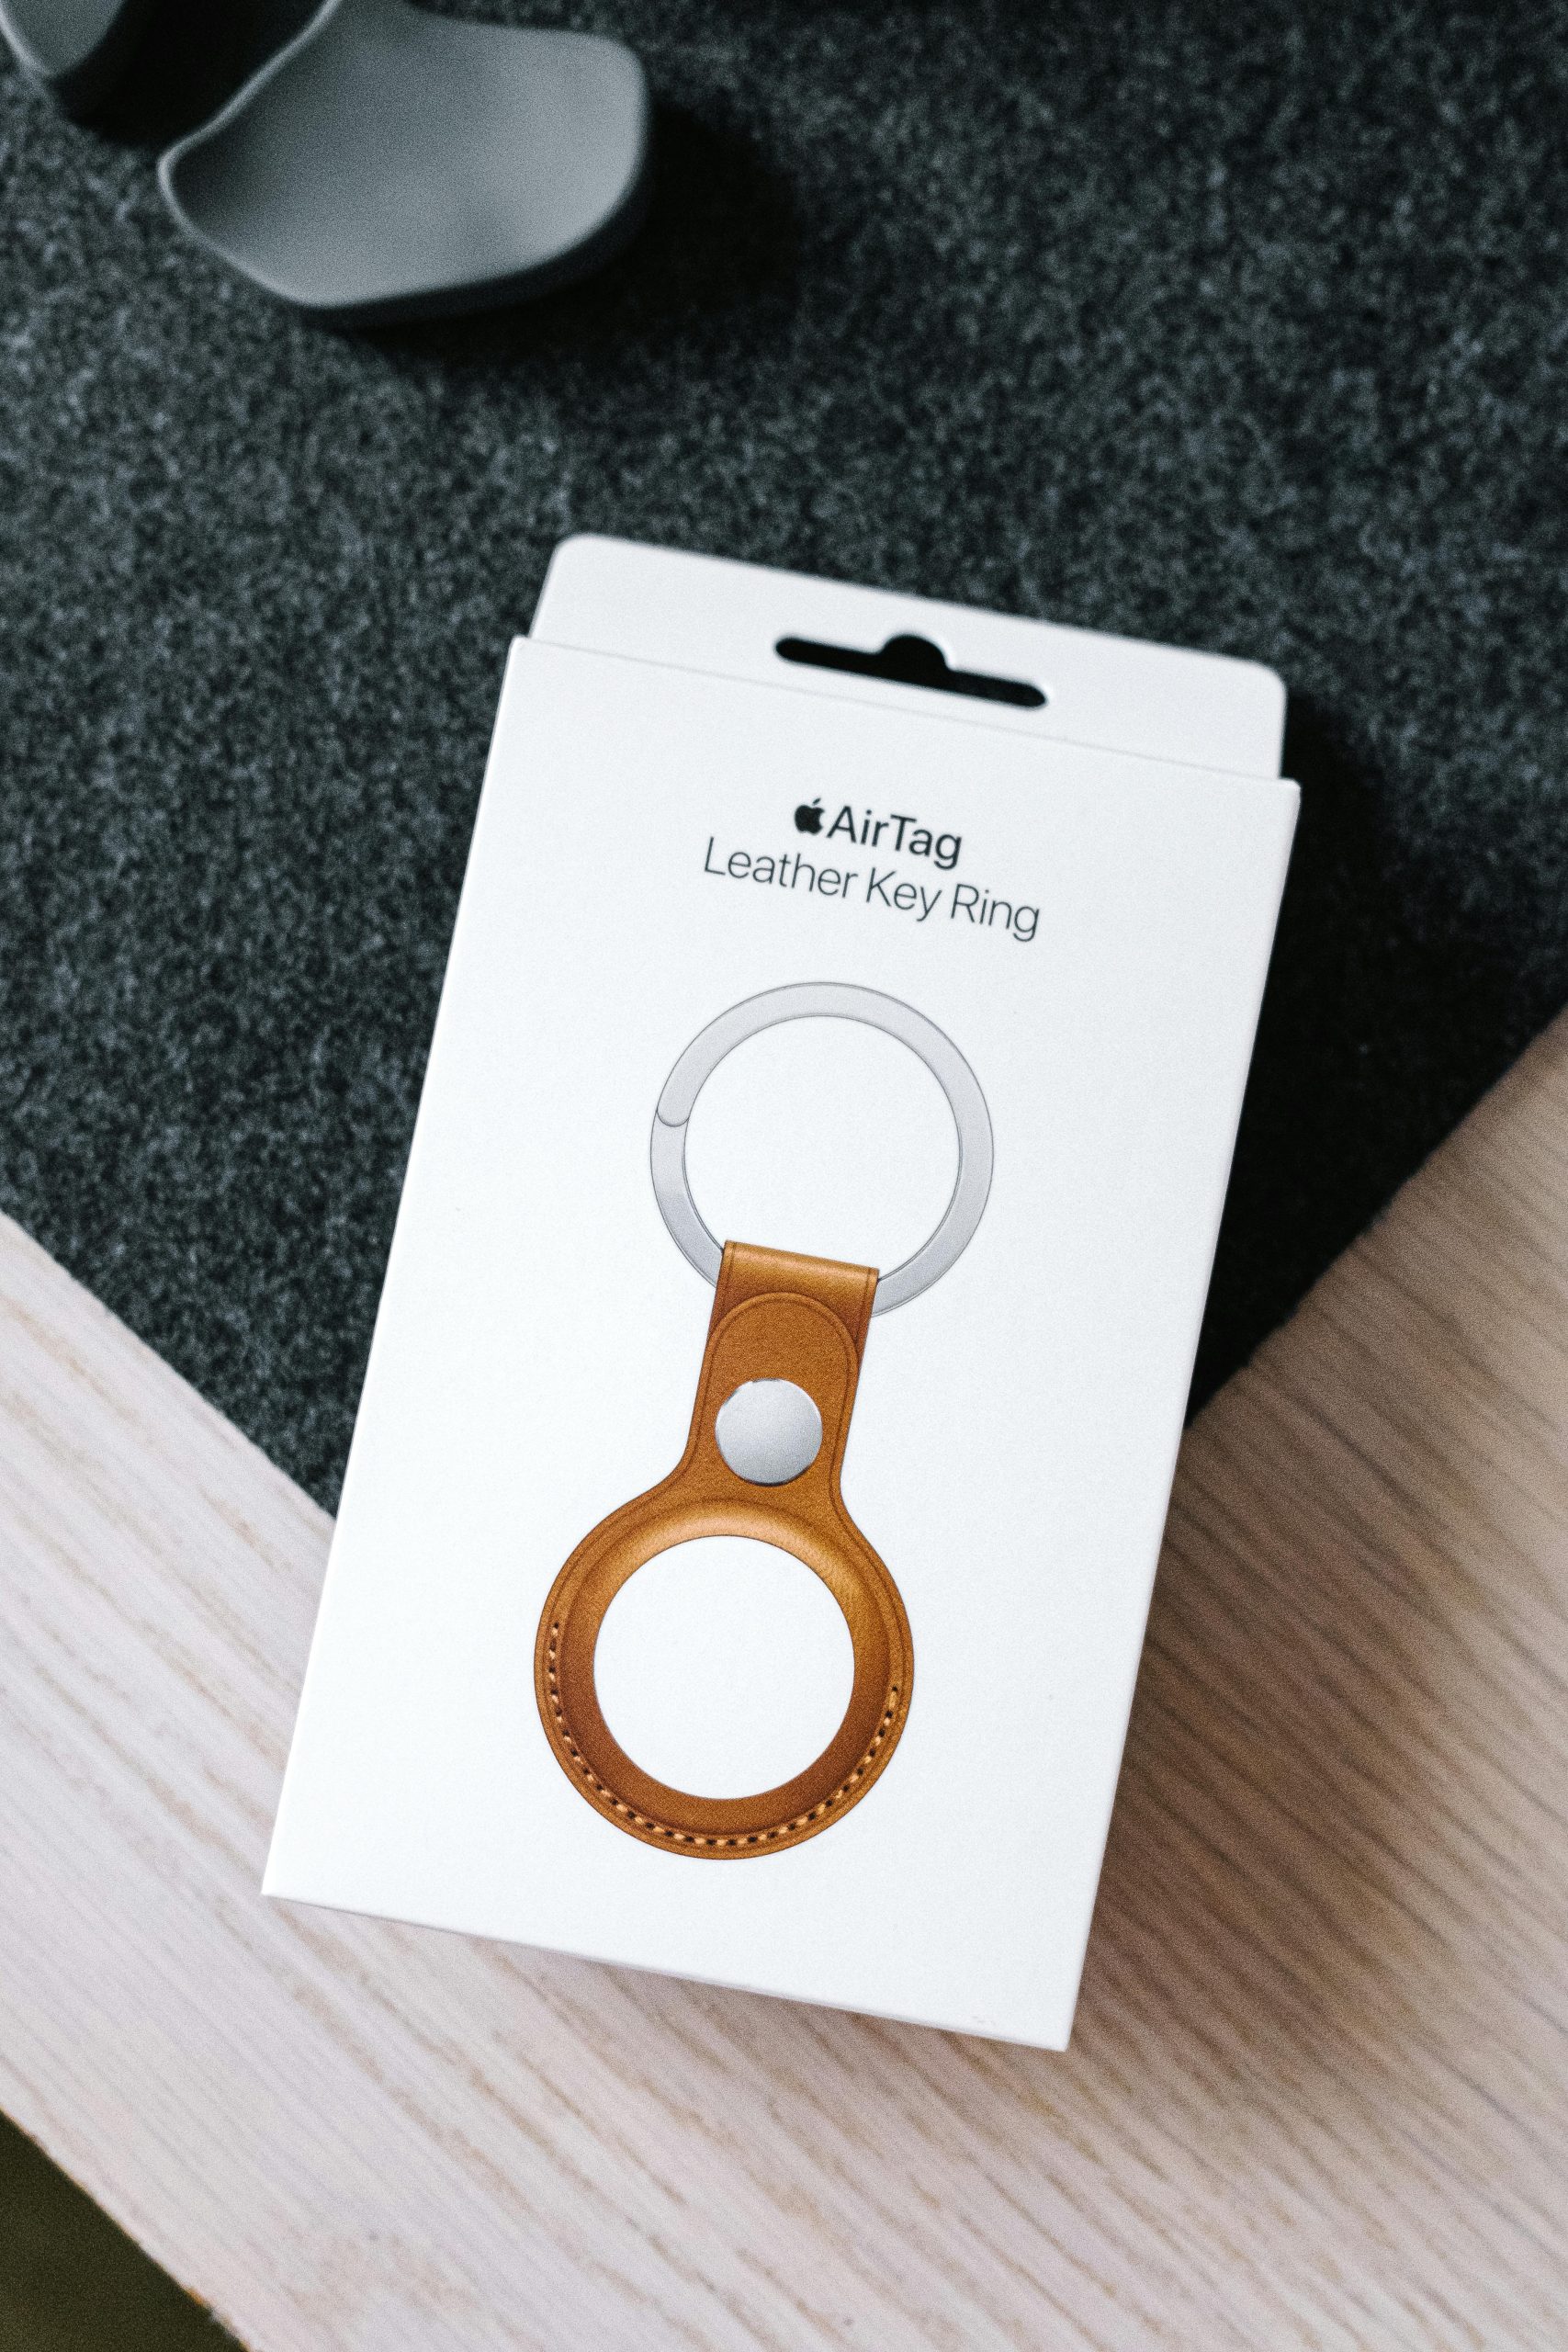
Apple’s AirTag is a fantastic device for tracking lost or misplaced items, but sometimes it may not work as expected. Whether it’s failing to connect, not updating its location, or not making sound, AirTags can run into occasional issues. Fortunately, most problems can be resolved quickly with a few troubleshooting steps. Here’s how to fix common AirTag issues and get your device back on track.

Contents
1. Check Your iPhone’s Compatibility
Before troubleshooting the AirTag itself, make sure that your iPhone or iPad is compatible with the device. AirTags require iOS 14.5 or later to function correctly. If you’re running an older version of iOS, the AirTag may not work properly or appear in the Find My app.
How to Check iOS Version:
– Go to Settings > General > Software Update.
– Update your iPhone if needed.
2. Ensure Bluetooth and Location Services Are Enabled
AirTags rely on Bluetooth and Location Services to communicate with your Apple devices. If either of these settings is turned off, your AirTag will not function correctly.
Steps to Enable Bluetooth and Location Services:
– Open Settings on your iPhone.
– Go to Bluetooth and make sure it is toggled on.
– Navigate to Privacy > Location Services, and turn them on if they are disabled.
Make sure the Find My app has permission to access your location as well.
3. Restart Your iPhone or iPad
Sometimes, a simple restart can fix connectivity issues. Restarting your iPhone or iPad can refresh the system and help re-establish a connection with the AirTag.
How to Restart:
– Hold the power button until the “slide to power off” screen appears.
– Slide to turn off your device.
– After it powers down, turn it back on by holding the power button again.
Once the device restarts, check the AirTag’s functionality in the Find My app.
4. Check AirTag’s Battery
AirTags use a small CR2032 battery, which should last about a year. However, if your AirTag is not working or updating its location, it could be due to a depleted battery.
How to Check and Replace the AirTag Battery:
– Press down and twist the metal cover on the AirTag counterclockwise to open it.
– Remove the old battery and replace it with a new CR2032 coin cell battery.
– Ensure the + side is facing up when inserting the new battery.
5. Reset the AirTag
If your AirTag is still not functioning, resetting the device may resolve the issue. Resetting will remove the AirTag from your Apple ID and allow you to set it up again.
Steps to Reset AirTag:
1. Open the Find My app and remove the AirTag from your account.
2. To physically reset the AirTag, remove the cover and battery.
3. Insert the battery again and press it down until you hear a sound. Repeat this step five times, removing and replacing the battery after each sound.
4. After the fifth sound, reassemble the AirTag and reconnect it to your device.
6. Check for Interference
AirTags rely on Bluetooth and ultra-wideband technology, which can be disrupted by interference from other devices or metal objects. Ensure that the AirTag is not placed near strong electronic interference that could hinder communication with your iPhone.
7. Contact Apple Support
If all else fails and your AirTag still doesn’t work after trying the above steps, you may have a defective unit. In this case, it’s best to contact Apple Support or visit an Apple Store to have the AirTag examined. Apple may offer a replacement if your AirTag is under warranty.
While the AirTag is a reliable tracking device, it can occasionally run into problems like any tech gadget. By checking your iPhone compatibility, ensuring Bluetooth and Location Services are enabled, restarting your device, or replacing the AirTag battery, you can fix most common issues. If problems persist, resetting the AirTag or contacting Apple Support will likely provide a solution. With these troubleshooting steps, you can get your AirTag working correctly and continue tracking your items seamlessly.


