
You double-click your favorite app. You’re ready to work or play. Then boom. A message pops up: “MSVCP140.dll was not found.” Annoying, right? Don’t worry. This is a common Windows error. And yes, you can fix it. Let’s walk through it step by step in plain English.
TLDR: The MSVCP140.dll error usually means your Microsoft Visual C++ Redistributable files are missing or broken. Reinstalling or repairing them fixes the problem most of the time. You can also scan system files, reinstall the app, or update Windows. Follow the six proven fixes below and you’ll likely be back up and running fast.
First, let’s quickly understand what’s going on.
Contents
What Is MSVCP140.dll?
MSVCP140.dll is a file used by many programs. It’s part of the Microsoft Visual C++ Redistributable package. That’s a fancy way of saying it helps apps run properly.
Think of it as a shared toolbox. Many apps borrow tools from it. If the toolbox is missing, broken, or empty, the apps can’t work.
You may see errors like:
- MSVCP140.dll is missing
- The code execution cannot proceed because MSVCP140.dll was not found
- MSVCP140.dll was not found
Now let’s fix it.
Fix #1: Reinstall Microsoft Visual C++ Redistributable (Most Important Fix)
This fixes the problem in most cases. So start here.
Here’s what to do:
- Press Windows + R.
- Type appwiz.cpl and press Enter.
- Look for Microsoft Visual C++ Redistributable in the list.
- Uninstall all versions from 2015 and newer.
Now download fresh copies directly from Microsoft’s official website.
- Download both x64 and x86 versions.
- Even if you have 64-bit Windows, install both.
Install them. Restart your computer. Try opening your app again.
Why this works: The DLL file lives inside these packages. Reinstalling replaces missing or damaged files.
Fix #2: Repair the Visual C++ Installation
If you don’t want to uninstall everything, try repairing first.
Steps:
- Go to Control Panel.
- Open Programs and Features.
- Find Microsoft Visual C++ Redistributable.
- Click Change.
- Select Repair.
Do this for each version listed.
Restart your PC.
This method is quicker. It keeps your existing setup. It simply fixes broken pieces.
Fix #3: Reinstall the Problematic App
Sometimes the issue isn’t Windows. It’s the specific app.
The program may have installed incorrectly. Or deleted the DLL file during an update.
Try this:
- Uninstall the app.
- Restart your computer.
- Download the latest version from the official website.
- Install it again.
Simple. But often effective.
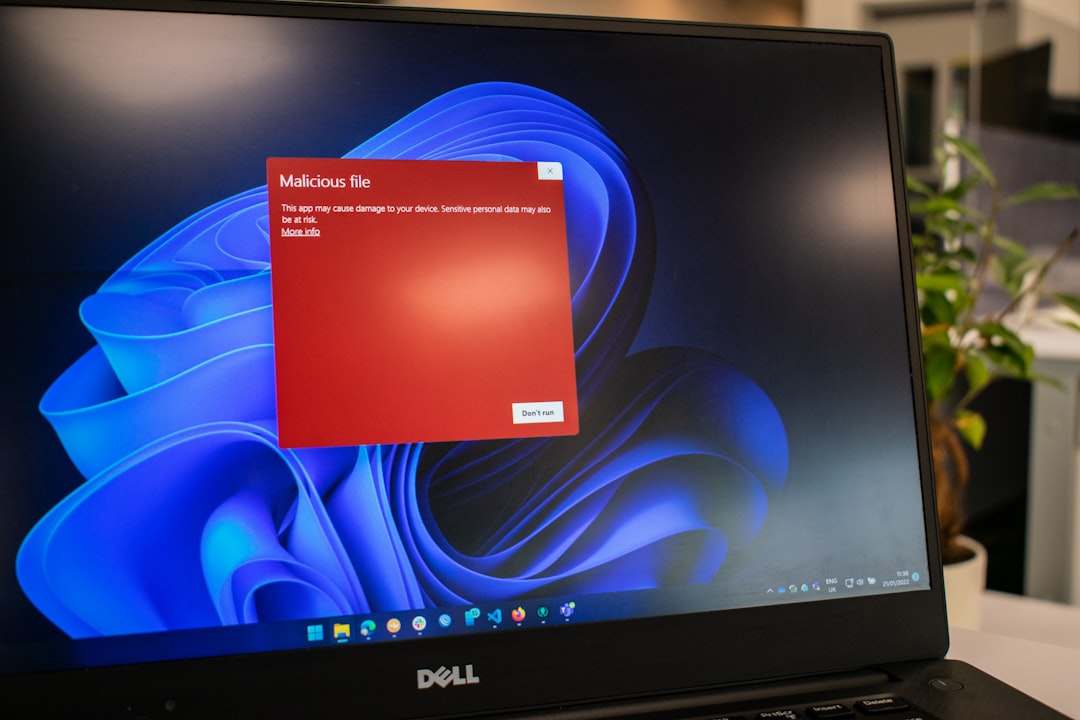
Important tip: Never download random DLL files from shady websites. They may contain malware. Always install official Microsoft packages instead.
Fix #4: Run System File Checker (SFC Scan)
Windows has a built-in tool that scans and repairs system files.
It’s called System File Checker.

Here’s how to run it:
- Click Start.
- Type cmd.
- Right-click Command Prompt.
- Select Run as administrator.
- Type: sfc /scannow
- Press Enter.
Wait. This may take 10–20 minutes.
If Windows finds corrupted files, it will repair them automatically.
After it finishes, restart your computer.
This is a powerful fix. It helps when system-level files are damaged.
Fix #5: Update Windows
Sometimes the error appears because your system is out of date.
Microsoft regularly updates runtime libraries through Windows updates.
To update:
- Open Settings.
- Go to Windows Update.
- Click Check for updates.
Install everything available.
Yes, even that update you’ve been ignoring.
Restart your PC after installing.
This ensures all required runtime components are current.
Fix #6: Check for Malware
This is less common. But still possible.
Malware can delete or corrupt DLL files. Sneaky stuff.
Run a full system scan using:
- Windows Security
- Or your trusted antivirus software
Make sure it’s updated before scanning.
If threats appear, remove them. Then reinstall the Visual C++ Redistributable again.
This ensures everything is clean and stable.
Bonus Tip: Make Sure You Have the Correct Version
There are different versions of Visual C++ packages.
The MSVCP140.dll file usually belongs to:
- Visual C++ 2015
- Visual C++ 2017
- Visual C++ 2019
- Visual C++ 2022
Luckily, newer packages often include previous versions.
Still, installing multiple versions is normal. It won’t hurt your computer.
Different apps use different builds.
Common Mistakes to Avoid
Let’s save you extra trouble.
Do NOT:
- Download MSVCP140.dll from random DLL download sites
- Delete system32 files manually
- Copy DLL files from another PC
- Disable security software permanently
These shortcuts often cause bigger problems.
Stick to official sources. It’s safer.
Why This Error Happens in the First Place
Here are the main reasons:
- The Visual C++ package was never installed
- The package became corrupted
- An app update failed
- Windows update removed a component
- Malware damaged system files
You didn’t necessarily do anything wrong.
Computers just… break sometimes.
How to Prevent It in the Future
A few simple habits make a big difference.
- Keep Windows updated
- Avoid force-shutting down your PC
- Install software from trusted sources
- Run regular antivirus scans
- Don’t delete system folders
That’s it. Simple maintenance.
Quick Troubleshooting Checklist
If you’re in a hurry, follow this order:
- Reinstall Visual C++ Redistributable (x64 and x86)
- Restart your PC
- Repair existing installations
- Reinstall the affected app
- Run SFC scan
- Update Windows
- Check for malware
Most users fix the issue in the first two steps.
Final Thoughts
The MSVCP140.dll was not found error looks scary. But it’s usually easy to fix.
No advanced tech skills needed. Just patience.
In most cases, reinstalling the Microsoft Visual C++ Redistributable solves everything. It takes less than 10 minutes.
So don’t panic.
Follow the six proven fixes above. Work through them step by step.
Your apps should open normally again. No more error popup. No more frustration.
And next time you see a DLL error? You’ll know exactly what to do.
Problem solved.


