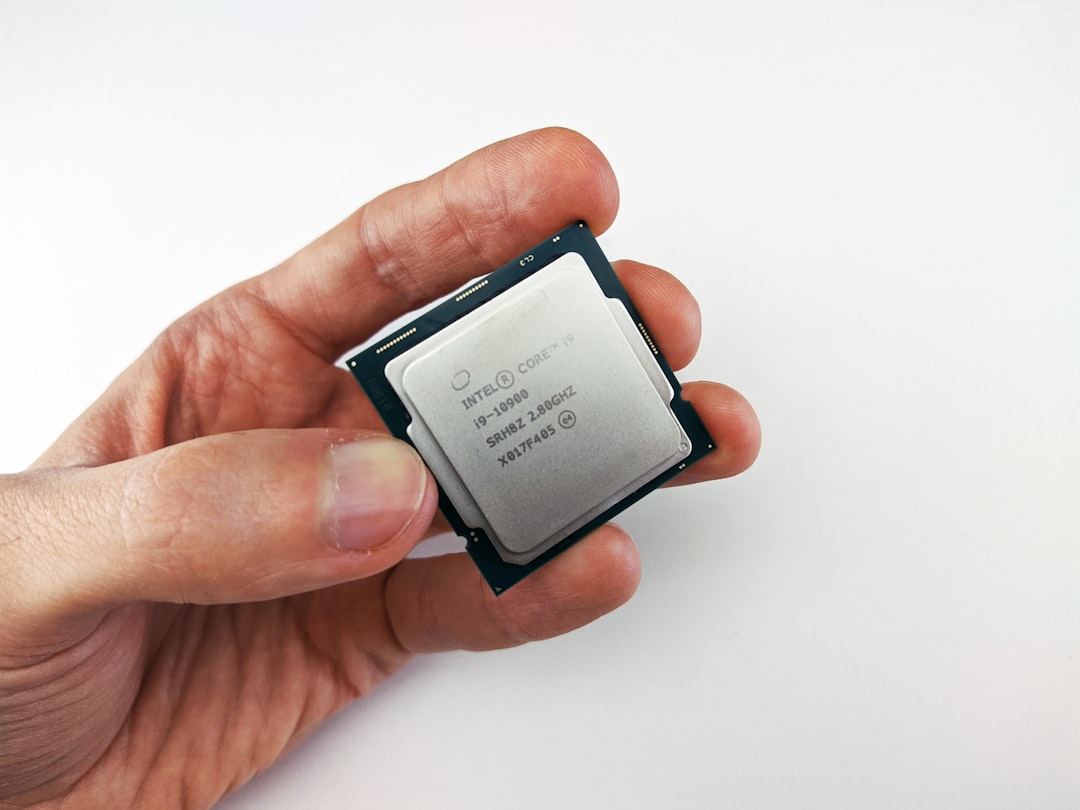
Building or upgrading a PC with the latest Intel 13th or 14th Gen processors can be exciting, but it can also come with a frustrating issue: an “Outdated BIOS” error. This happens when the motherboard’s firmware doesn’t support the newer processors out of the box, which prevents the system from booting or recognizing the CPU properly. Understanding how to resolve this problem is crucial for ensuring optimal performance and functionality.
This article explains in detail how to fix the outdated BIOS error associated with Intel 13th and 14th Gen CPUs, including step-by-step instructions for BIOS updates, safety precautions, and useful troubleshooting tips.
Contents
Why the BIOS Needs Updating
Every motherboard has a specific firmware known as the BIOS (Basic Input/Output System), which controls fundamental hardware initialization and system boot-up processes. When Intel releases a new generation of CPUs, motherboard manufacturers must update their BIOS to add support for those new processors. If a motherboard’s BIOS doesn’t recognize the CPU, the system might:
- Fail to POST (Power-On Self Test)
- Show blank screens or beep patterns
- Display compatibility warnings
The outdated BIOS error becomes especially common when users pair older motherboard models with newer 13th or 14th Gen CPUs, expecting full compatibility without confirming firmware revisions.
Identifying the Problem
Before jumping into BIOS updates, it’s important to confirm that your issue truly stems from an outdated BIOS. Here are signs indicating BIOS incompatibility:
- The motherboard powers on, but there’s no display or beeping
- The CPU light on the motherboard stays red or orange
- No response after pressing the power button
- System enters a boot loop
Experienced users may also check the motherboard revision and compare it with the manufacturer’s CPU support list.

Steps to Fix Outdated BIOS Error
1. Check Manufacturer Compatibility
First, go to your motherboard manufacturer’s website and locate your exact model. Use the CPU support page to verify which BIOS version is required for your 13th or 14th Gen processor. If your processor is listed but requires a specific BIOS version higher than what’s installed, proceed to update.
2. Use Q-Flash Plus, BIOS FlashBack, or Similar Features
If your motherboard supports BIOS flashing without a CPU (e.g., MSI’s Flash BIOS, ASUS’s BIOS FlashBack, Gigabyte’s Q-Flash Plus), this is the safest and most convenient method.
Steps:
- Download the required BIOS version from the motherboard’s support page.
- Format a USB drive to FAT32.
- Rename the BIOS file if required (follow naming instructions from the manufacturer).
- Insert the USB into the special BIOS USB port.
- Press the designated BIOS flash button on the motherboard.
The flashing process typically takes 5–10 minutes. Once complete, the system should recognize the new CPU on first boot.
3. Update BIOS with an Older Compatible CPU
If the motherboard doesn’t support offline BIOS updates, you’ll need to borrow an older compatible CPU (e.g., Intel 12th Gen) to boot the system and update the BIOS from within BIOS or via Windows.
Procedure:
- Install the older CPU and boot into BIOS setup.
- Navigate to the BIOS update or EZ Flash utility.
- Select the BIOS file from USB storage and begin the upgrade process.
- Once the update is successful, shut down, and replace the CPU with the newer 13th or 14th Gen model.
4. Seek Help at a Local Computer Store
If you don’t have access to a supported CPU and your motherboard doesn’t support BIOS Flashback, a local PC technician or computer store may be able to perform the BIOS update. Some retailers may even offer BIOS update services for newly purchased motherboards.
Precautions and Best Practices
- Never turn off the system or remove power during a BIOS update. This may brick your motherboard.
- Always use BIOS files from the official manufacturer’s website. Avoid third-party sources.
- Ensure your USB drive is properly formatted and the BIOS file is in the root directory.
- Read your motherboard manual for exact BIOS update instructions specific to your model.
Most importantly, ensure your motherboard is sitting on a non-conductive surface and that you are grounded to prevent static damage during installation and updates.

After the BIOS Update
Once the BIOS has been successfully updated and the new CPU is installed:
- Enter BIOS again to restore or configure optimal settings
- Enable XMP for RAM if applicable
- Install chipset drivers after booting into Windows
If the system doesn’t boot after the update, try resetting CMOS using the motherboard jumper or BIOS reset button. Then repeat the steps to ensure BIOS was flashed properly.
Preventing Future Issues
With the fast pace of hardware innovation, it’s wise to verify component compatibility in advance. Here are a few steps to prevent BIOS compatibility issues in the future:
- Consult CPU support lists before buying a motherboard
- Choose newer motherboard chipsets like B760, Z790 for better future support
- Check motherboard manufacturing date if possible
Conclusion
Encountering an outdated BIOS error when building with Intel’s 13th or 14th Gen CPUs can be intimidating, especially for beginners. However, with the right tools and a bit of patience, this issue is entirely fixable. Whether using BIOS Flashback features or borrowing a compatible CPU to perform an update, proper planning and execution will ensure your system runs smoothly with cutting-edge Intel processors.
Frequently Asked Questions (FAQ)
- Q1: Can I update the BIOS without a CPU?
- Yes, but only if your motherboard supports BIOS Flashback or Q-Flash Plus. These allow you to update the BIOS using only a USB drive and power.
- Q2: Will updating the BIOS harm my motherboard?
- Not if done correctly. Follow the manufacturer’s instructions carefully, and do not interrupt power during the process to avoid damaging the BIOS chip.
- Q3: Do all motherboards support Intel 13th and 14th Gen CPUs?
- No. Only LGA 1700 socket motherboards with updated BIOS versions support these processors. Older models may require manual updates or won’t support them at all.
- Q4: I don’t have a compatible CPU or BIOS flashback feature. What should I do?
- Visit a local PC shop that offers BIOS update services or reach out to your motherboard manufacturer for possible RMA or assistance.
- Q5: How do I know which BIOS version I have?
- If your system boots, enter the BIOS setup screen during startup and look for the BIOS version. Alternatively, in Windows, use tools like CPU-Z or HWiNFO to check under “Mainboard.”


